How To Thread Eyebrows At Home?

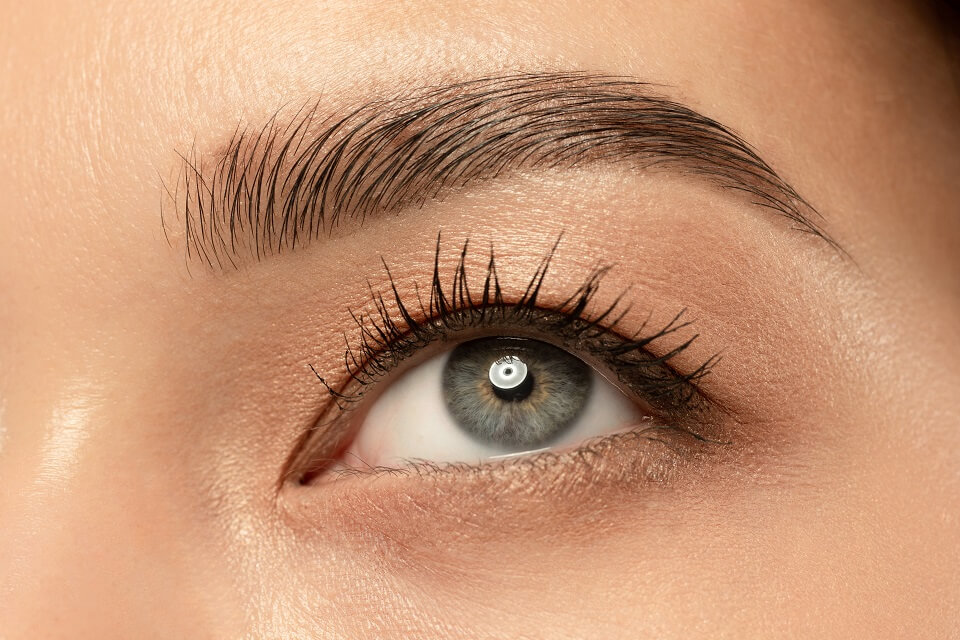
Eyes are the most beautiful part of any face. The beauty of eyes are further increased by well maneuvered eyebrows. Without the well maintained eyebrows, the eyes look like a body without a soul. But have you ever given a thought on how difficult it is to maintain such beautiful eyebrows? Well, not. Yes, shaping the eyebrows is not a tough task at all. You just need a thread, an expert hand and voila, you are done and can flaunt now your beautiful eyebrows. Here in this article, we shall tell you about everything you need to know on how to thread eyebrows at home, that too in some simple and easy steps. So keep reading this to get to know about how to thread eyebrows step by step.
But before we move on to our Desi style homemade steps, we should first know what actually an eyebrow threading is.
What is eyebrow threading?
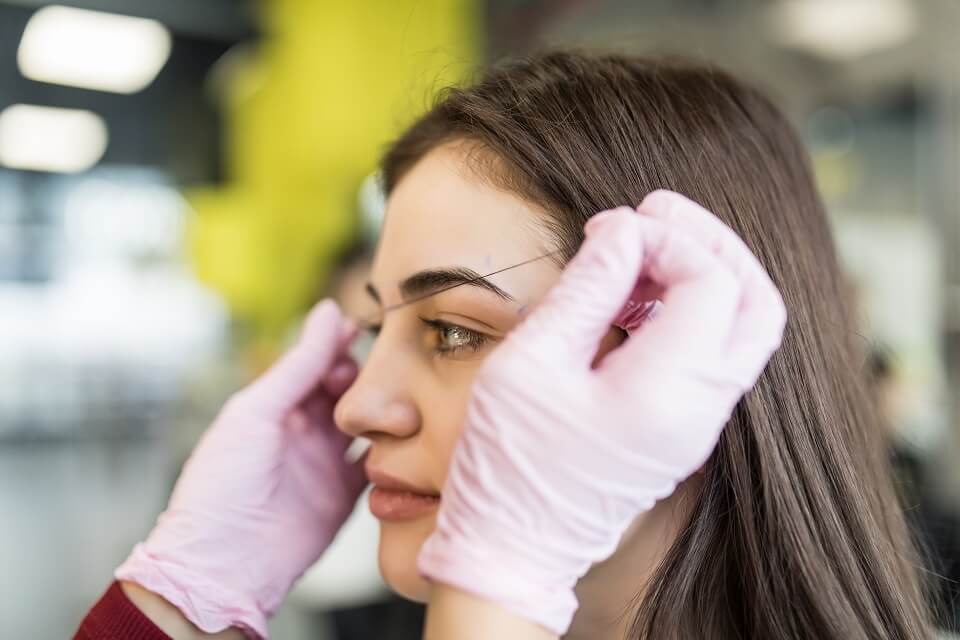
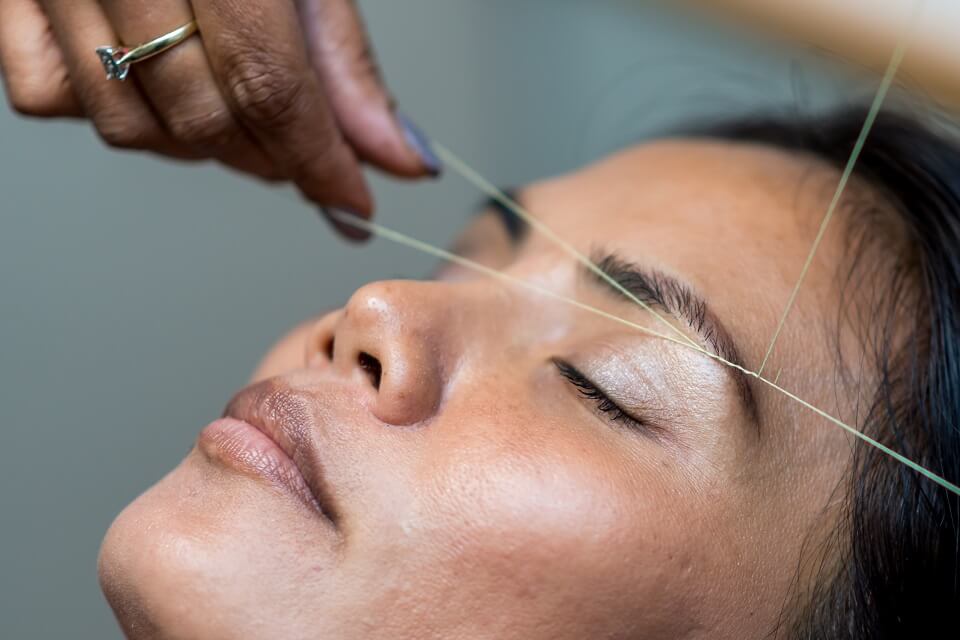
An age old practice, eyebrow threading is a method employed to remove the hair on eyebrows and give them a beautiful shape. Not just eyebrows, threading is also used to remove hair from chin, upper lips and cheeks. Threading makes use of cotton thread and a skillful hand to remove the facial hair. The hair is removed from the root. The hair removed by the threading is very defined and clean.
Safety concerning threading
Threading is very safe and secure. Hair is also removed by various other methods like waxing, tweezing etc. This hair removal method is completely safe and removes hair from the roots. Waxing removes hair and makes the skin sore, so it’s better to remove hair using this method.

What do you need for threading?
You just can’t start doing threading just like that. You need to have certain tools which are very easily available in the market or at home. Below is the list of the materials that you will require to go on-
- High cotton thread (14 inch ideal)
- A pair of scissors
- Eyebrow pencil
- Eyebrow brush
- Ice pack for post application
Stepwise detailing of eyebrow threading-
Step 1- Mirror on the wall
Always stand in front of a mirror to start with threading. Bent down a little and lean forward so that you focus on your eyebrows clearly. Use a simple plane mirror and not a concave one so as to avoid any kind of mal formation of eyebrows. There should be plenty of light falling on your face so that you are able to see clearly and effectively.
Step 2- Let’s draw
First draw an outing using the eyebrow pencil, this will allow you to know the exact shape and size of the eyebrow that you want to make. This will also prevent you from any mishappening being a first timer. The best way to draw the outline is by starting from the inner side and then going out. If you have thin eyebrows, go for a thin outline.
Step 3- Combing
Now comb the eyebrow hair using the eyebrow brush in upward direction. Trim the extra length of the hair using the eyebrow scissors. Try not to overtrim it. Once you are done, comb the eyebrow in the downward direction to make it look even.

Step 4- Form the loop
Now make a loop of the thread by tying both the ends together and cutting off the left over thread. Make sure the knot is stable enough and it doesn’t come out once you start using it.
Step 5- Twist the loop
Once the knot is done, put your index finger and the thumb on each side of the loop. Next you have to stretch the loop so that your fingers and thumbs are fixed. In the next step, twist the loop so that the twisted loop is in the middle of the thread.
Step 6- Practice makes a man perfect
Now you have to practice. Open and close the distance of the thread by extending the finger and the thumb of one hand while simultaneously closing the finger and the thumb of the other hand. You should practice this first so that there is no problem while threading. While the movement is being performed, make sure the twist in the middle gets transferred from left to right.
Step 7- The final movement
Now place the middle section of the thread where the twist is over the hair you want to remove in your eyebrows. Practice the movement by opening and closing the hands. You will notice that your hair is getting removed. Keep sliding the twist over the hair gently but firmly.
The corners of the twist should be able to grab the hair and pull it out. Also take care of your skin while performing the movement, you don’t want to get bruised. One thing to make sure here is that the movement of pulling by the twist should always be in the opposite direction of the hair growth, only then the hair will be pulled out.
Note- There is a chance that you may not be able to perform the pulling very efficiently. So for this, you must practice a lot in order to become a pro at it.
Step 8- Repeat it
Once you are done with one stroke, repeat the movement along the whole length of the eyebrow. After finishing with the first eyebrow, you may start with your other eyebrow in the similar fashion.
The same technique is used to detach hair from other facial parts like forehead, around the lips, chin and the cheeks. You can for these as well after mastering the movement.
Step 9- Post plucking care
After you have done plucking hair from your facial region, you must apply the ice pack or aloe vera gel in order to suppress the inflammatory process. After pulling out, the skin tends to swell up with redness, to avoid this, you must apply ice wrapped in a towel or a napkin over the affected skin. Aloe Vera gel also has anti-inflammatory properties working finely over the affected region.
So here were the steps for your easy DIY eyebrow threading at home. Now say no to parlour and salons when you can absolutely shape your eyebrows at home !!
